Southern
Pacific
1218
Replacing The Other 5
Leaky Liners
When we replaced the #5 liner, we thought our water in the oil troubles were over. "Not so fast", said Mr. Reality! While under the locomotive turning the wheels on the number 2 axle, I noticed gray oil seeping from the oil drain line valve. "Oh Nuts!!" we said to no one in particular. After finishing the wheels, we set out to track down the source of the problem. After an oil change, we began a routine of letting the engine run for about a minute, waiting a day or so and then checking the oil pan drain line for water. Experience with the #5 liner taught us that a liner leak might be dependent upon the resting position of the piston in the liner. Finally, after a couple of dozen start/stop sessions, water appeared in the oil sump. A look through the crankshaft inspection covers revealed that both number 2 and number 4 were leaking. Common sense would dictate that cavitation damage would not be limited to only the #5 liner but when we changed that one, we were hoping for the best. Well, reality bites and it bit us big time. The decision was made to pull all the parts out of the remaining 5 cylinders, inspect the crankshaft rod journals for wear and look at the liner sealing surfaces for damage.
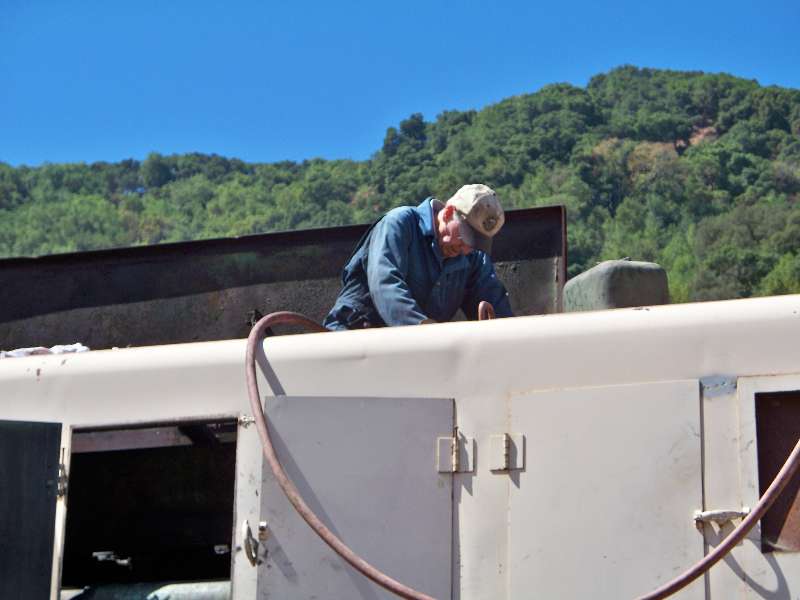
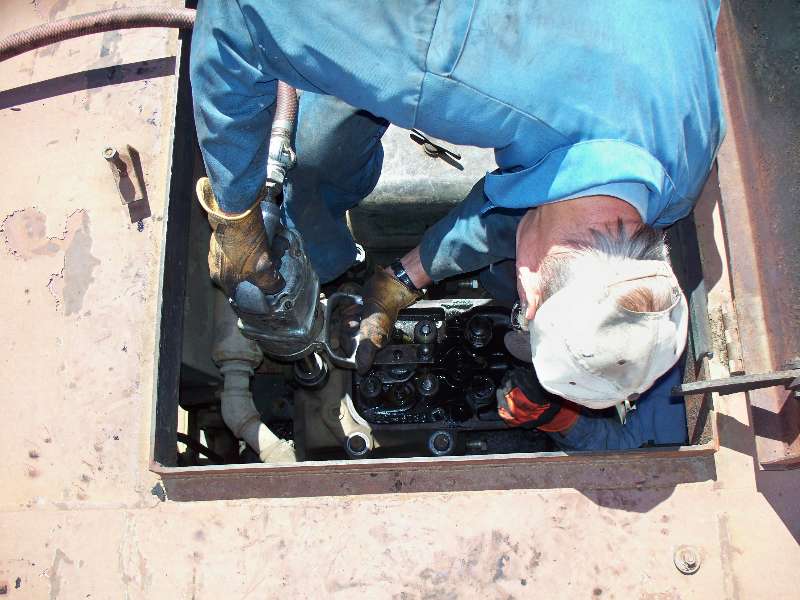
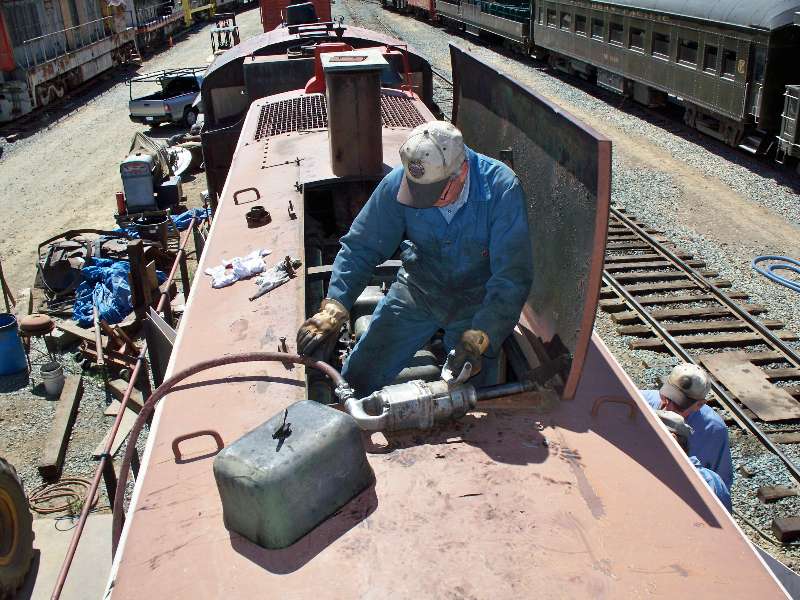
Jon took the first step by removing all of the water, oil and fuel lines plus the intake and exhaust plumbing. We removed the rocker arm assemblies and push rods and then tackled the head bolts with a 1 inch drive impact wrench. Here, Rich is working on the nuts for the #6 head.
 |
 |
 |
-- Update July 21, 2009 --
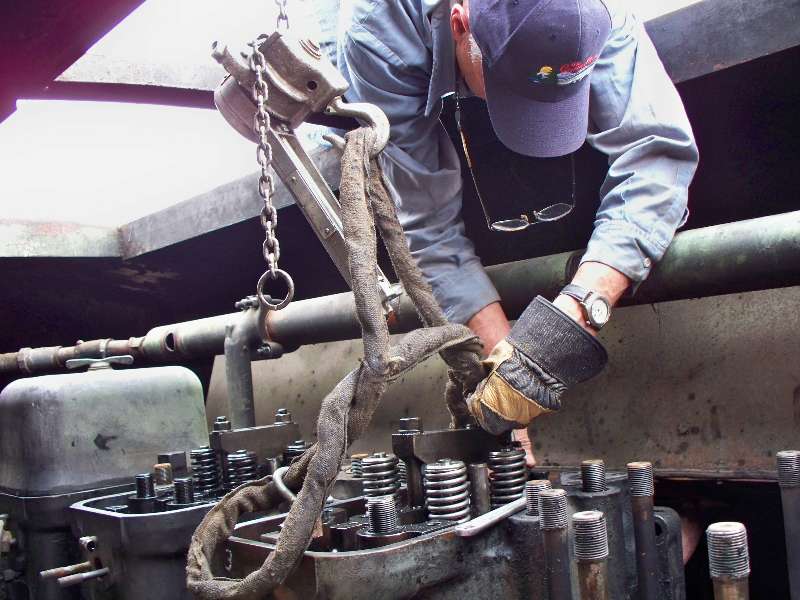
The newest member of the Alco Gang, Gerry Feeney, is seen guiding the removal of the 5 cylinder heads and then having done the dirty work of removing the connecting rod caps, doing the same for the pistons and rods.
 |
 |
 |
 |
 |
 |
 |
 |
-- Update July 28, 2009 --
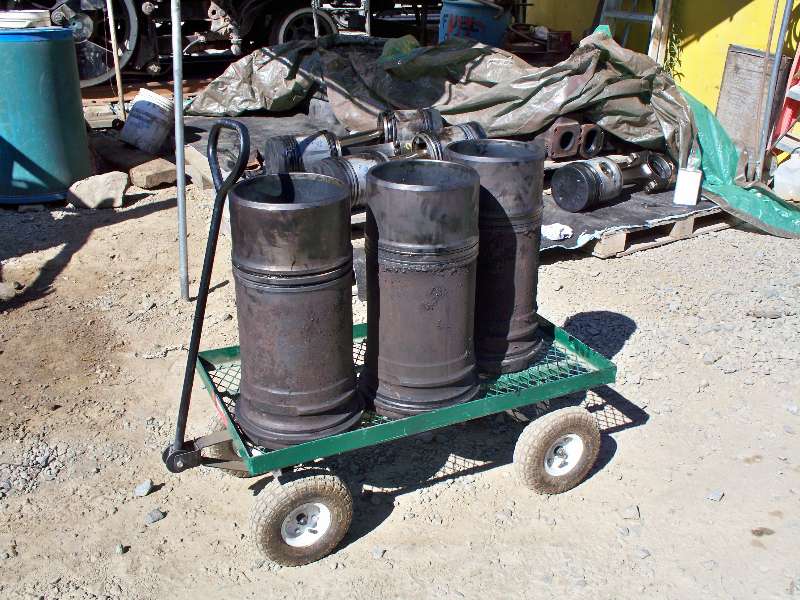
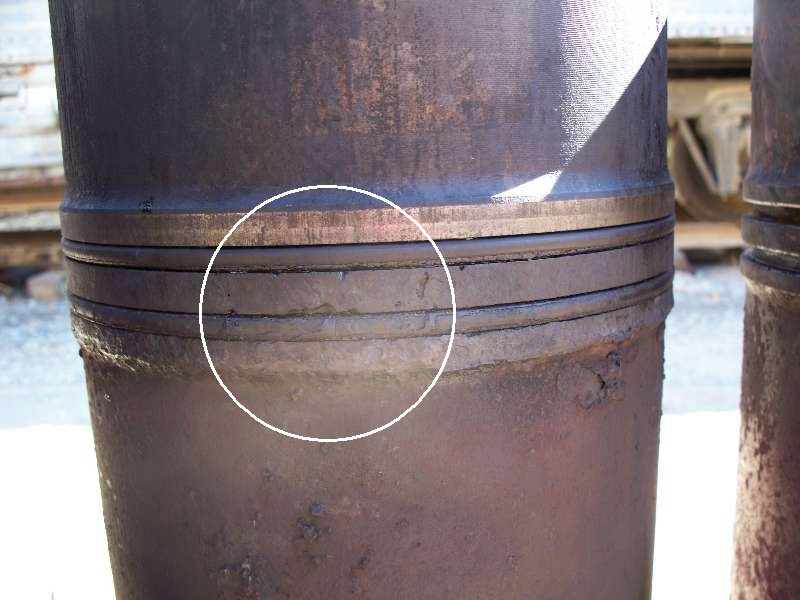
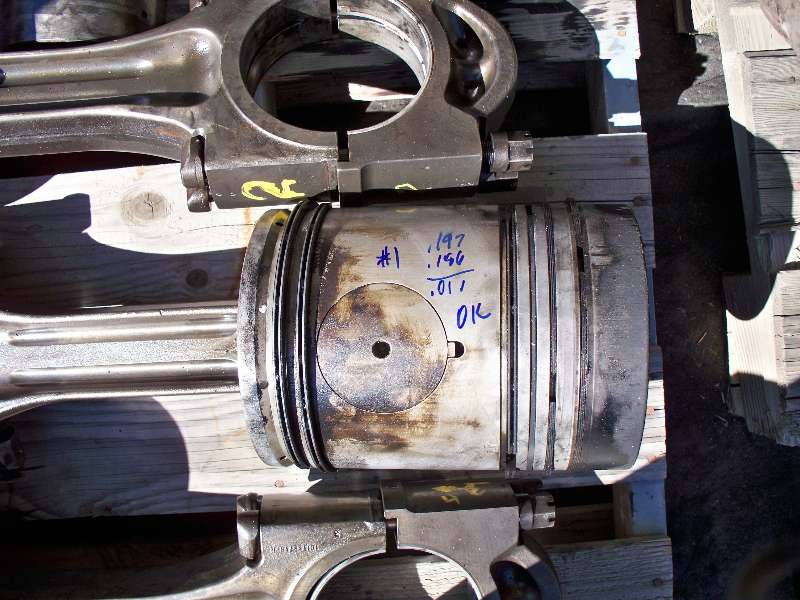
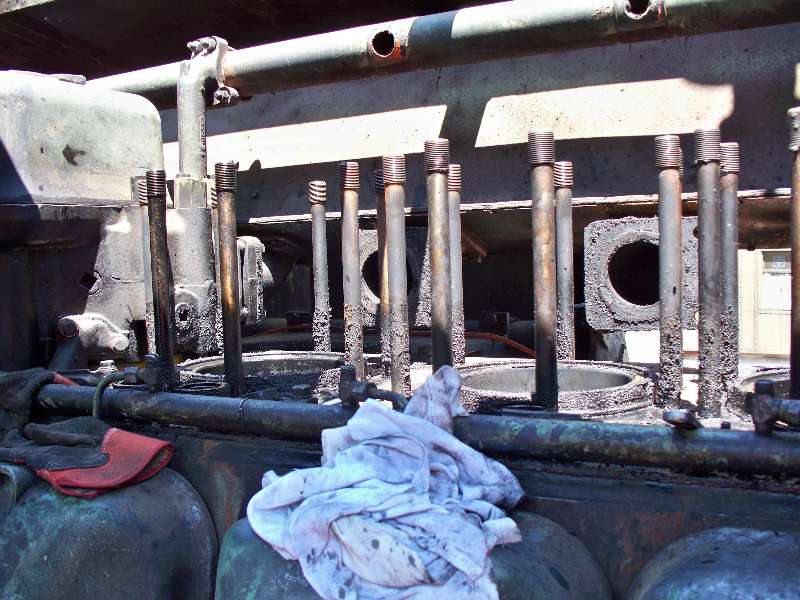
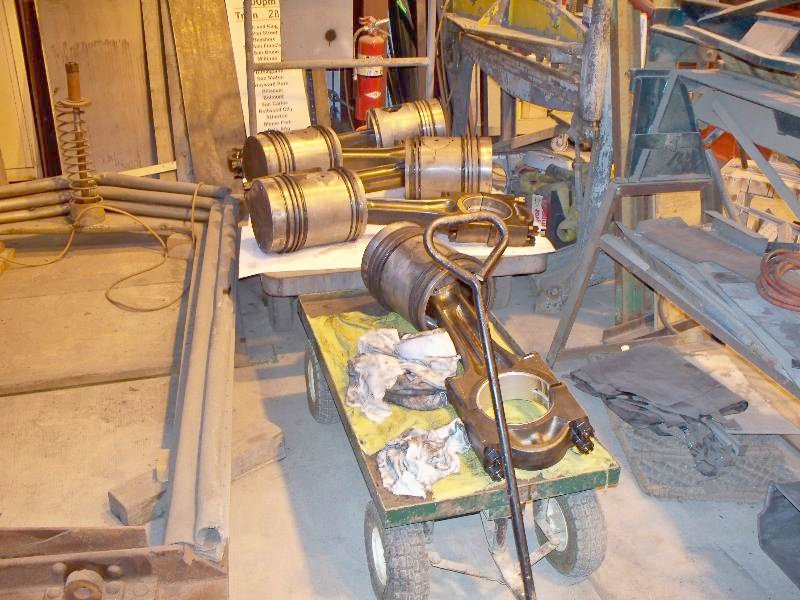
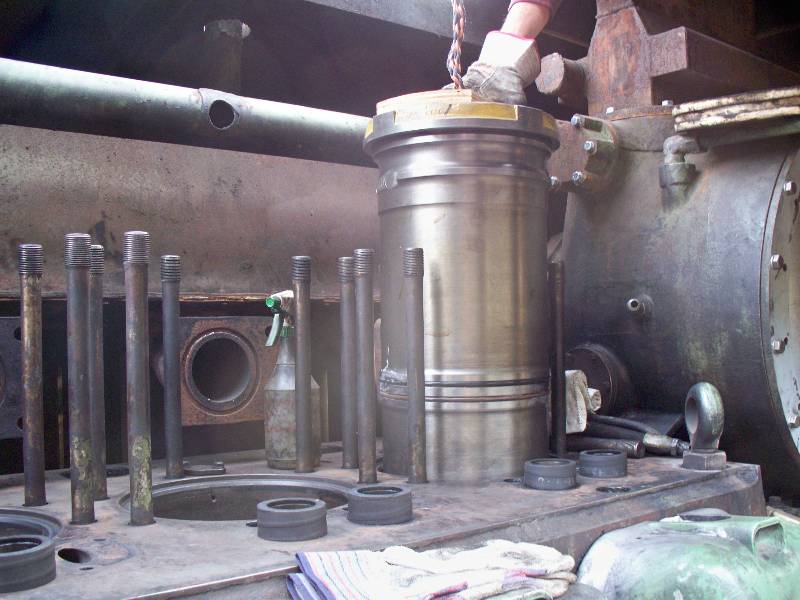
And here we have 3 of the liners upside down ready to be added to the assortment of heads, piston, rods, and miscellaneous parts on the pallets to the rear. The close up shot is of the damage to the liner seal area caused by cavitation. The markings on the piston are the result of measuring wear in the top ring groove. The actual wear limit is .010 but .011 is close enough. We have one piston with .065 wear and it will be replaced with a spare. Finally, here is a view of the exhaust manifold through a forest of greasy head studs.
 |
 |
 |
 |
-- Update September 22, 2009 --
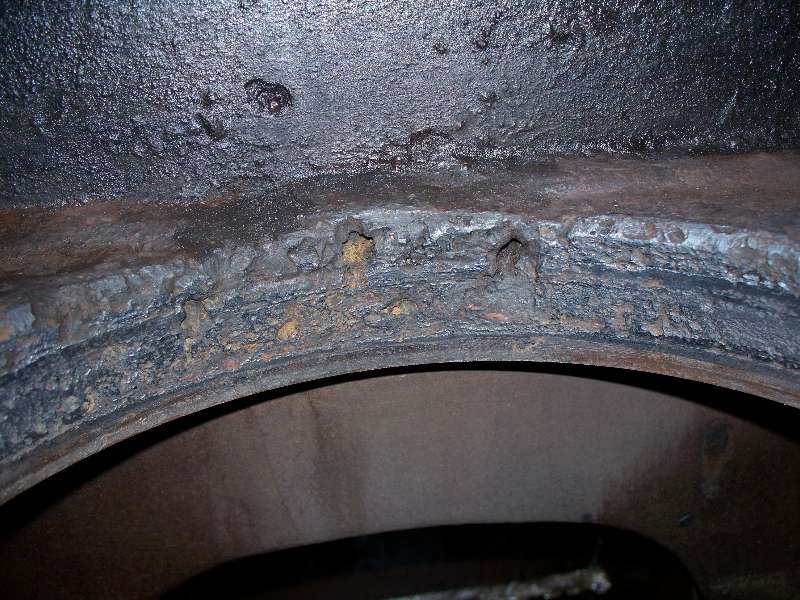
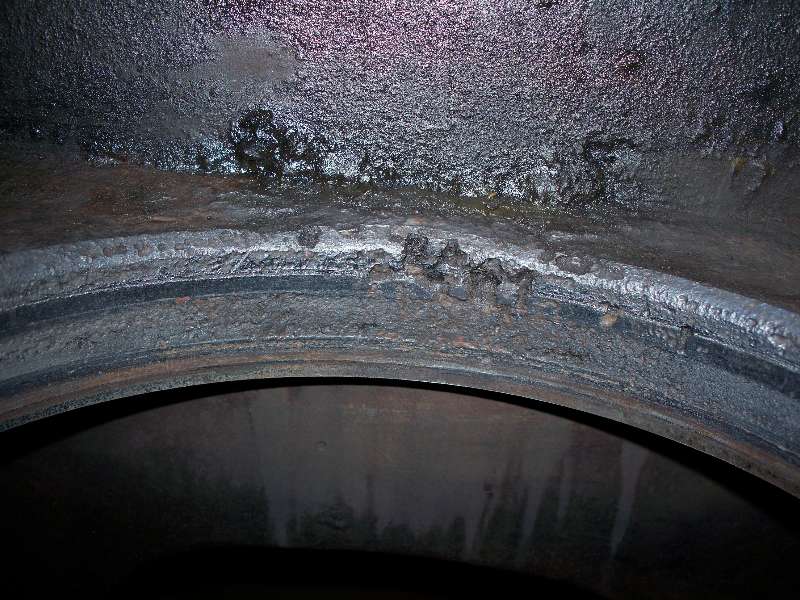
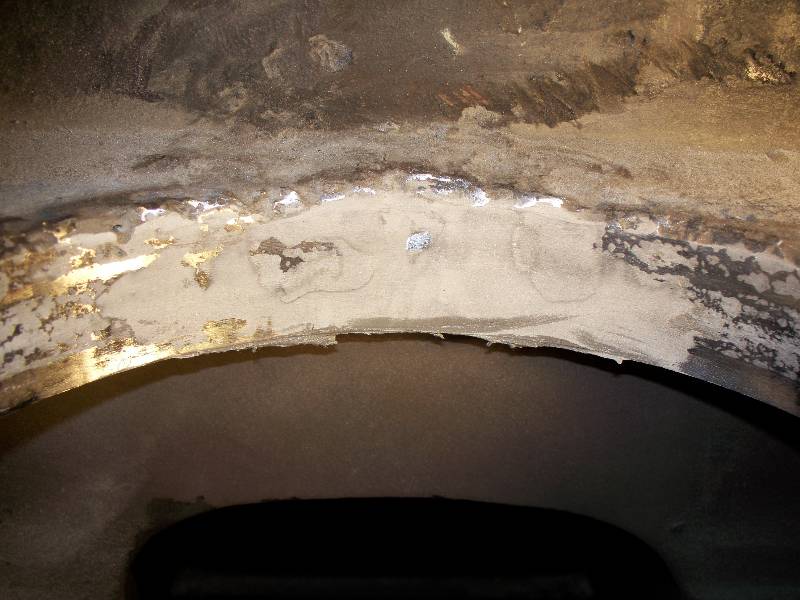
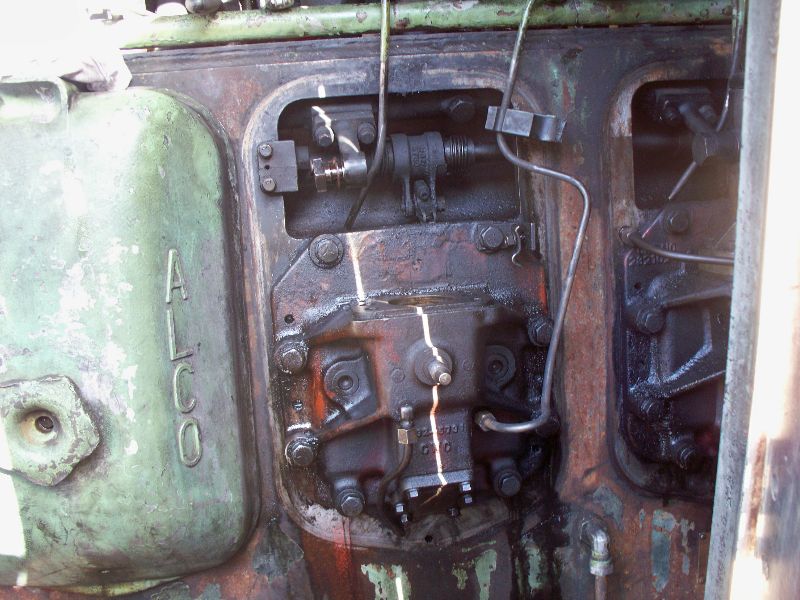
Upon removing the liners and after some intensive cleaning by Gerry, we were able to look at the liner seal areas in the block. What we found was rather sickening. There are very deep pits in the block and much missing metal exactly where the upper liner seal would rest. This isn't good, but I have heard from Alco mechanics that it can be repaired..
 |
 |
 |
-- Update October 30, 2009 --
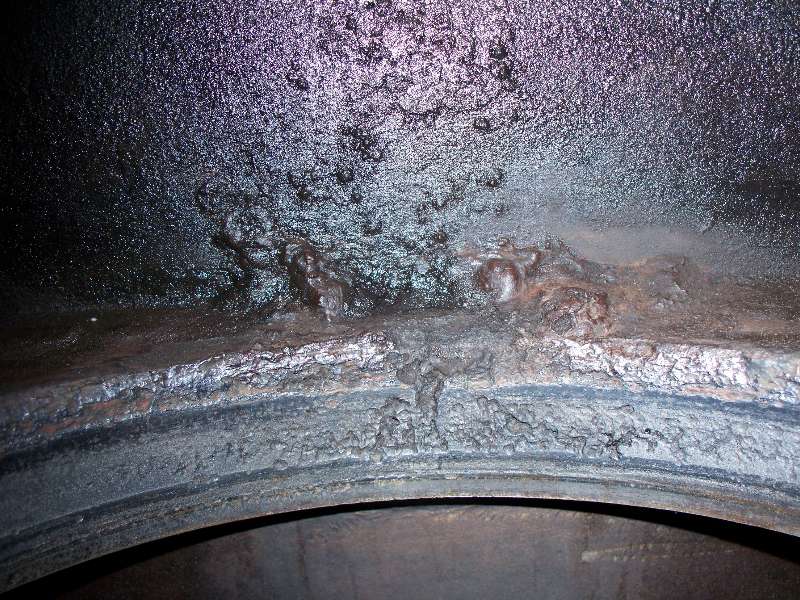
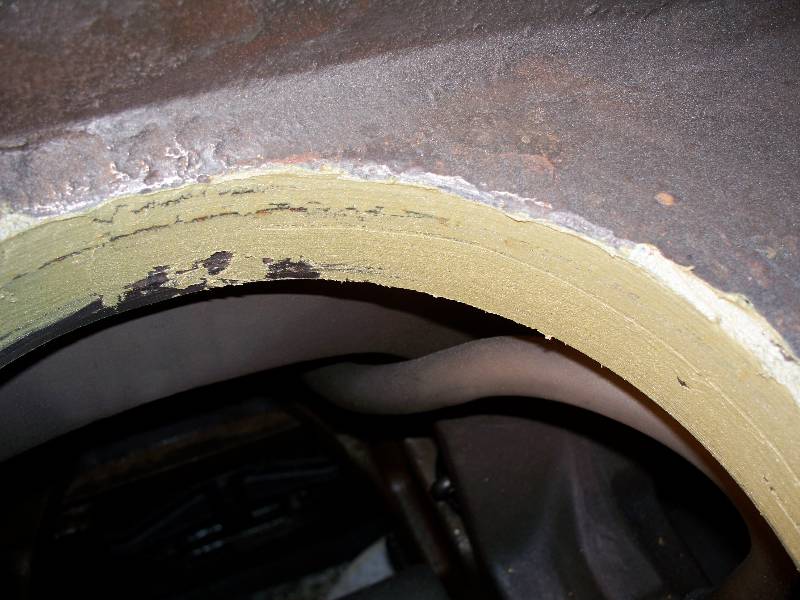
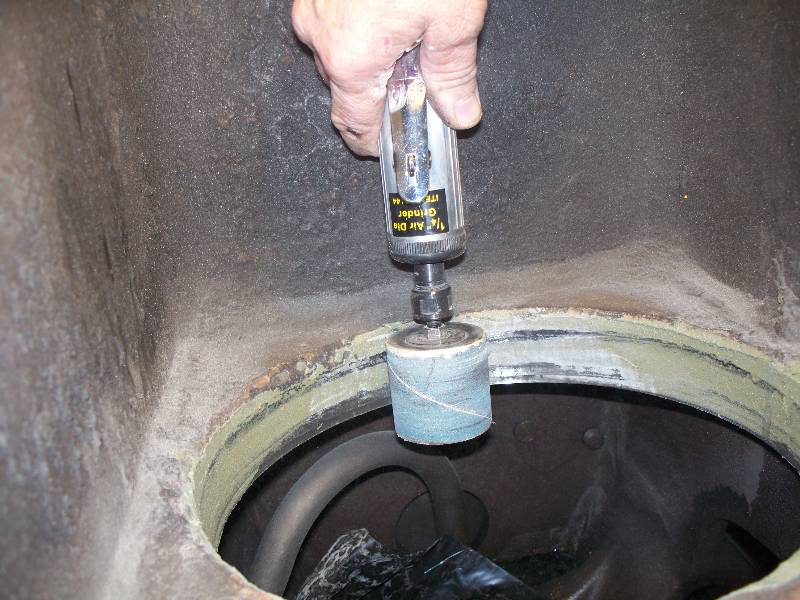
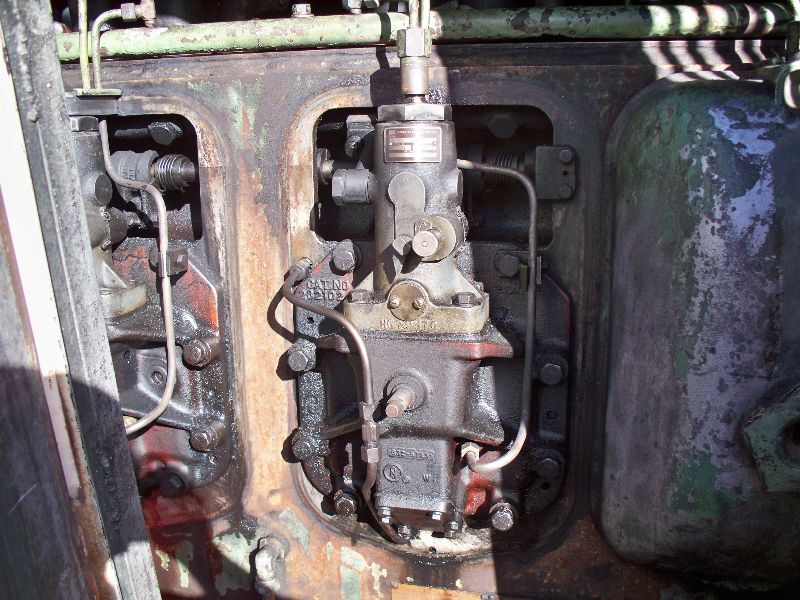
While talking with Hatch And Kirk in Seattle about ordering the parts we need, my contact mentioned that many companies use a product called Belzona to repair damage such as ours. After a little research and a informative conversation with the local Belzona sales office, we decided to order "Belzona 1111" and apply it to the defective areas in the cylinders. After a proper curing time, it was worked down using a small drum sander mounted in a die grinder. A friend made us a gauge whose outside diameter is the same as that of a new cylinder liner and it was used to check the work. We had to make a second application of the Belzona in a few places we managed to miss but all in all, it was a fairly simple process. The key to the whole thing however was that the metal had to be a clean as possible for a good bond to take place. Gerry had done a great job of the cleaning process. Photo #3 is of Gerry, hard at work with the grinder down in the number 6 bore. The last 2 photos are of the damaged area in cylinder #2, before and after the Belzona.
 |
 |
 |
|
 |
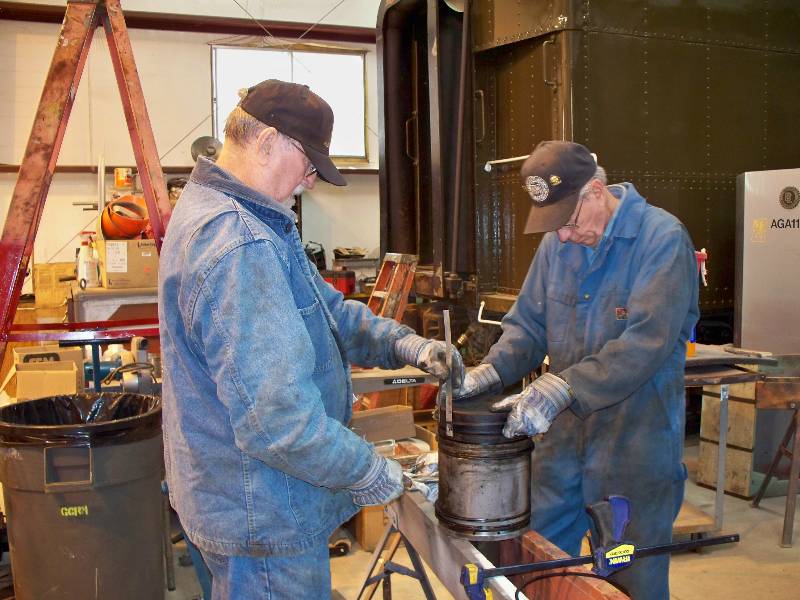
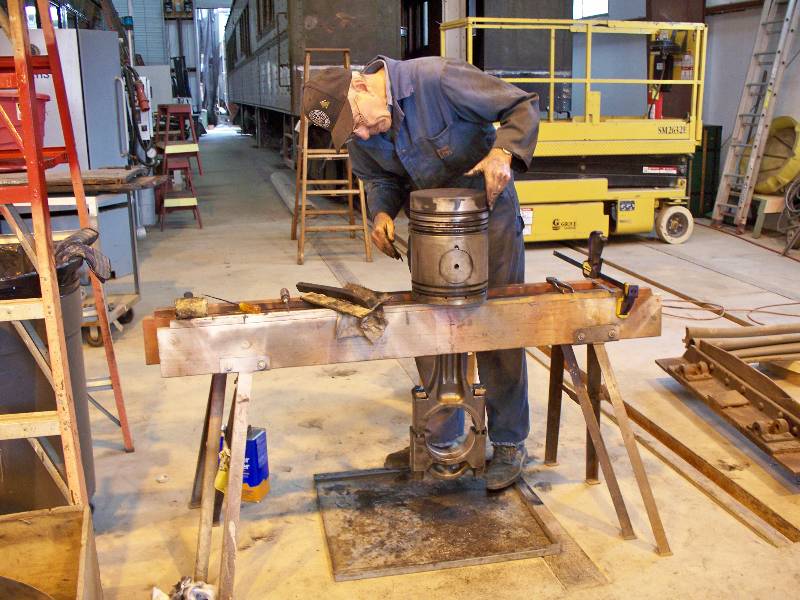
Meanwhile, Jon and Rich are busy preparing the pistons and rods for their return to the engine. We are replacing all the rings and putting in a new set of rod bearings.
 |
 |
 |
-- Update November 24, 2009 --
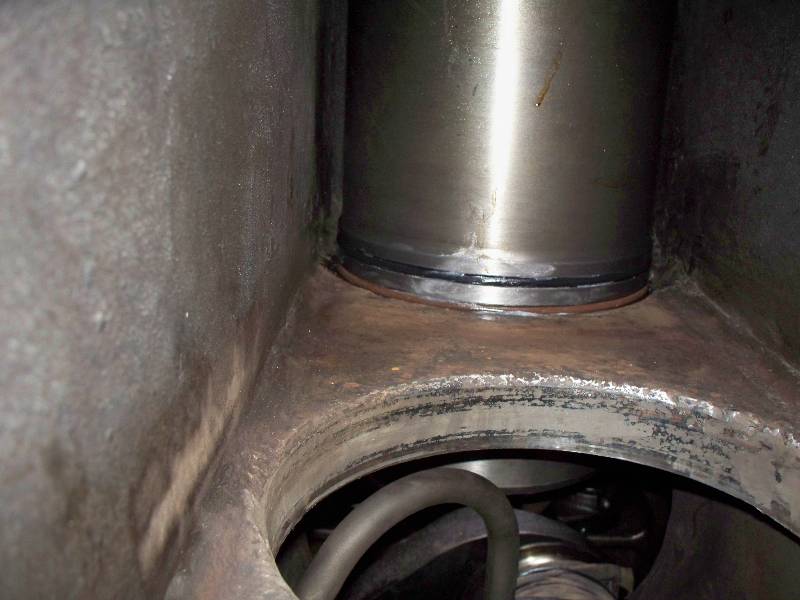
Tuesday the 13th was a big day as we put all the liners back in and put water in the block to check for leaks. Photo 2 is an interesting view inside the block of the liner entering the water seal area.
 |
 |
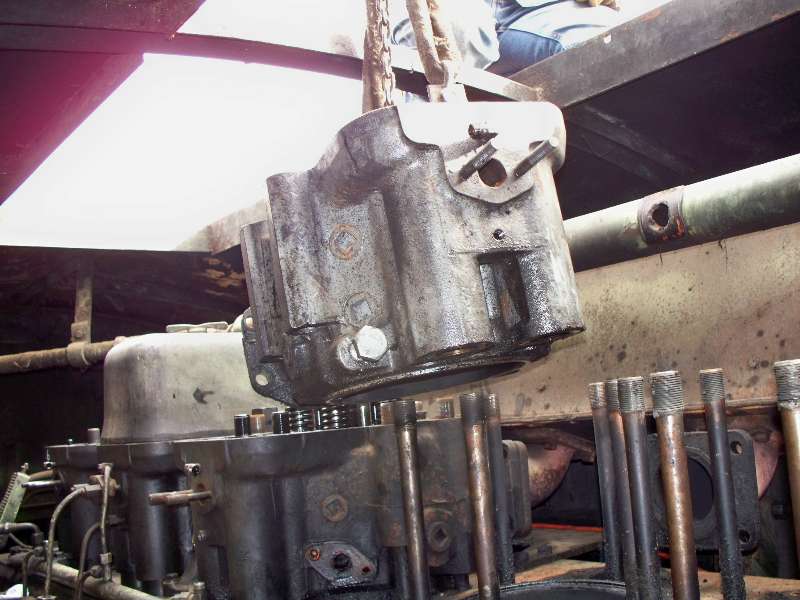
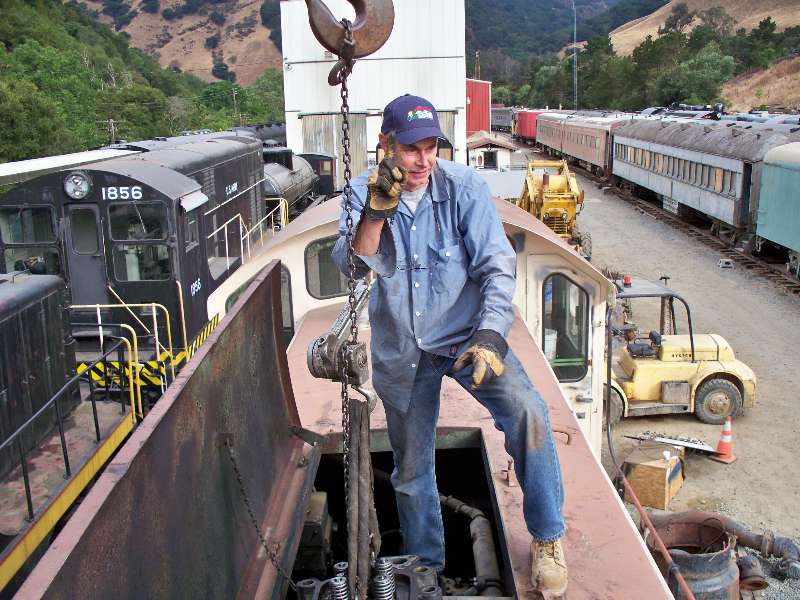
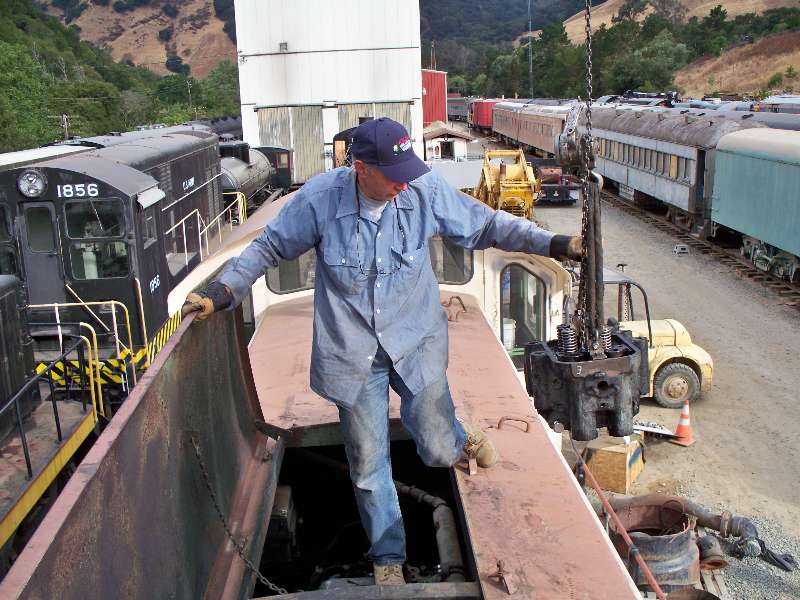
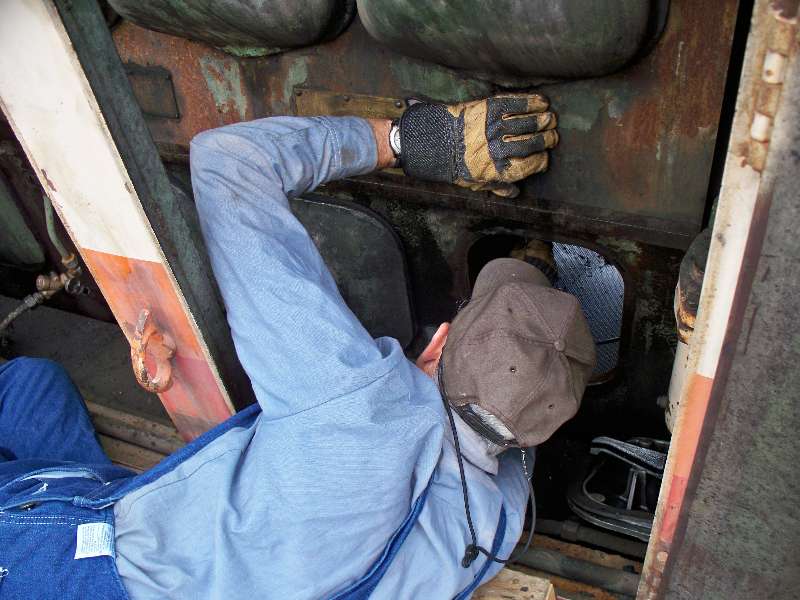
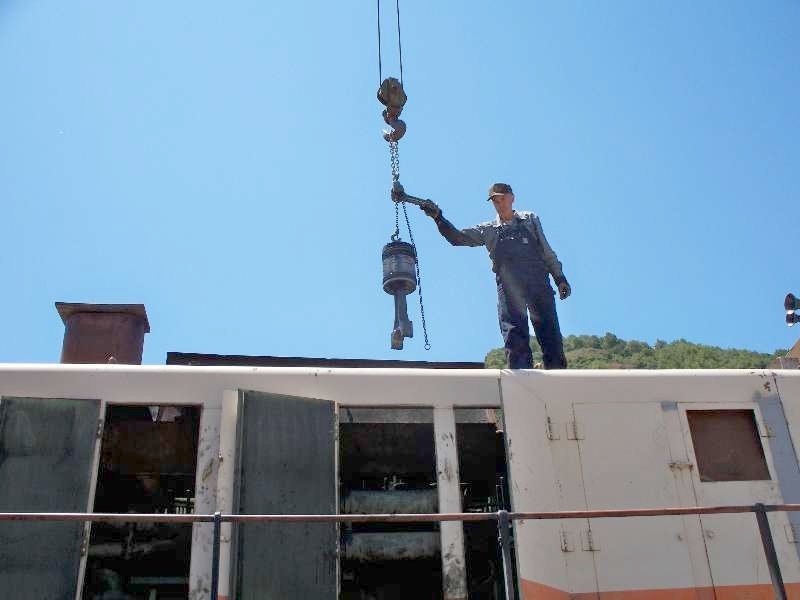
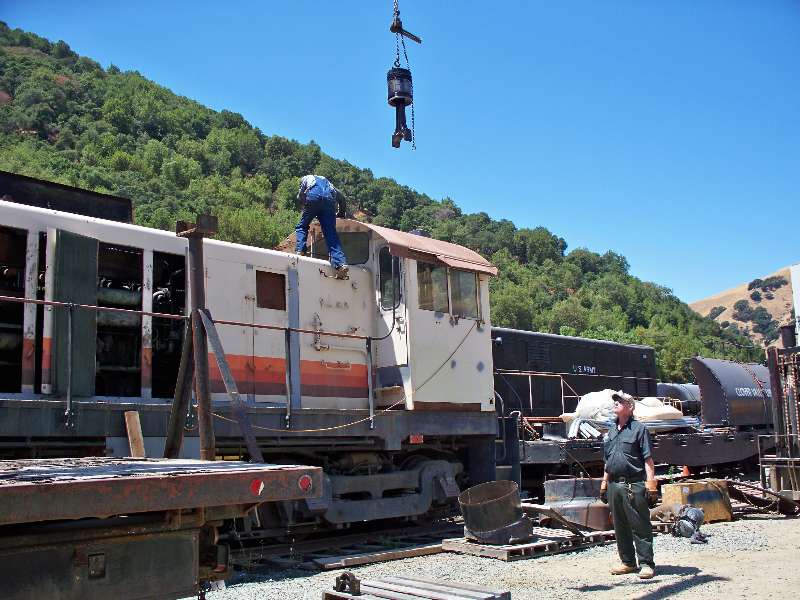
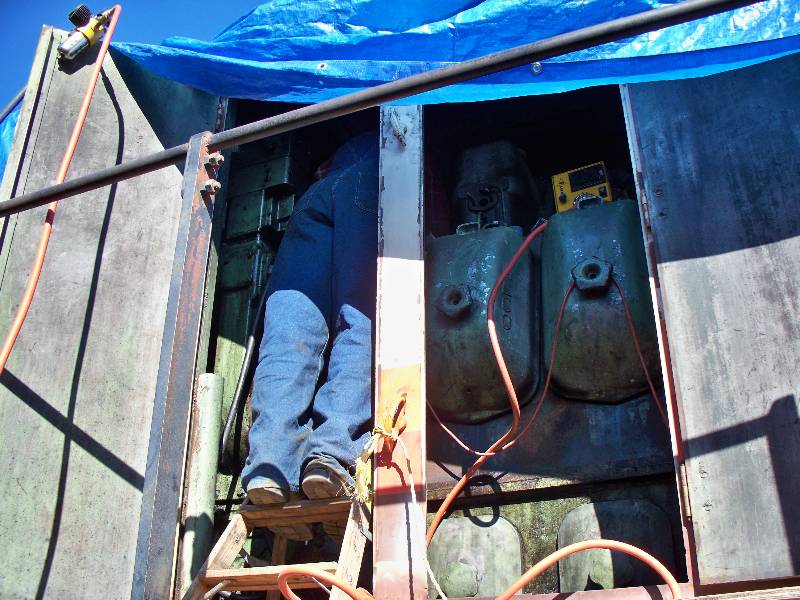
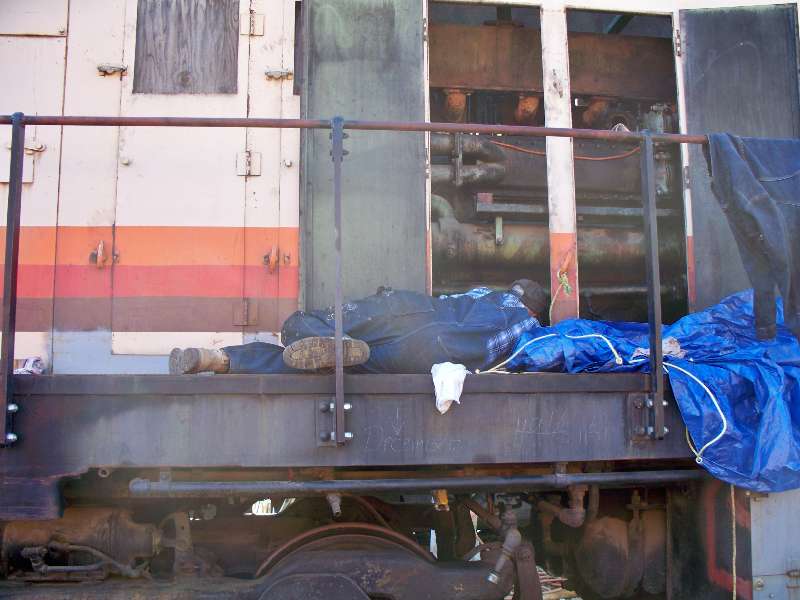
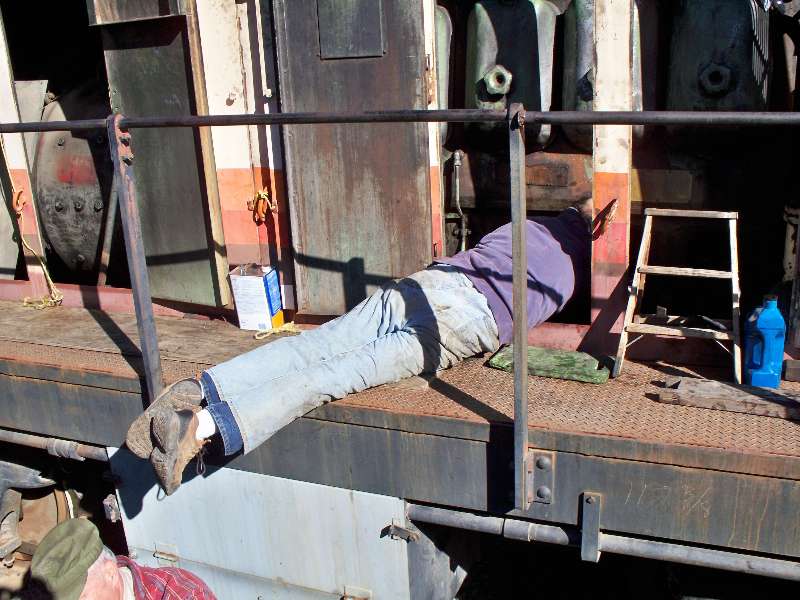
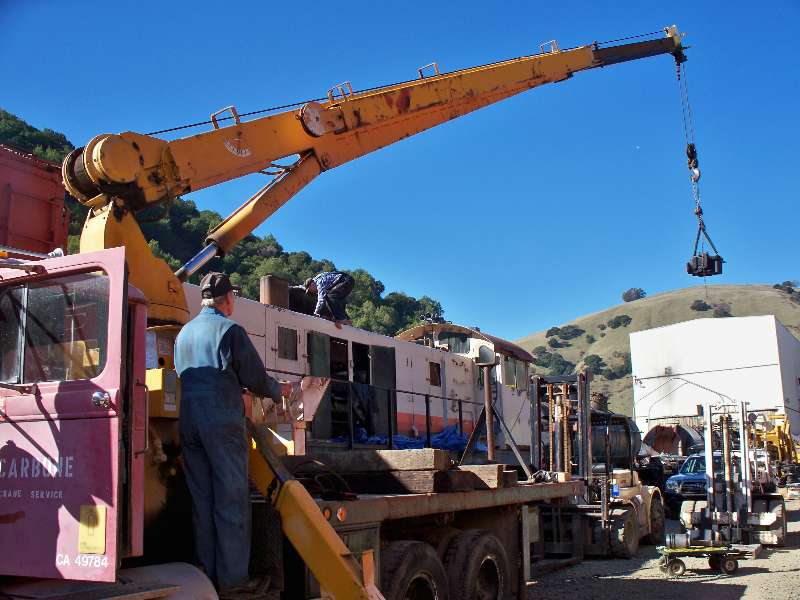
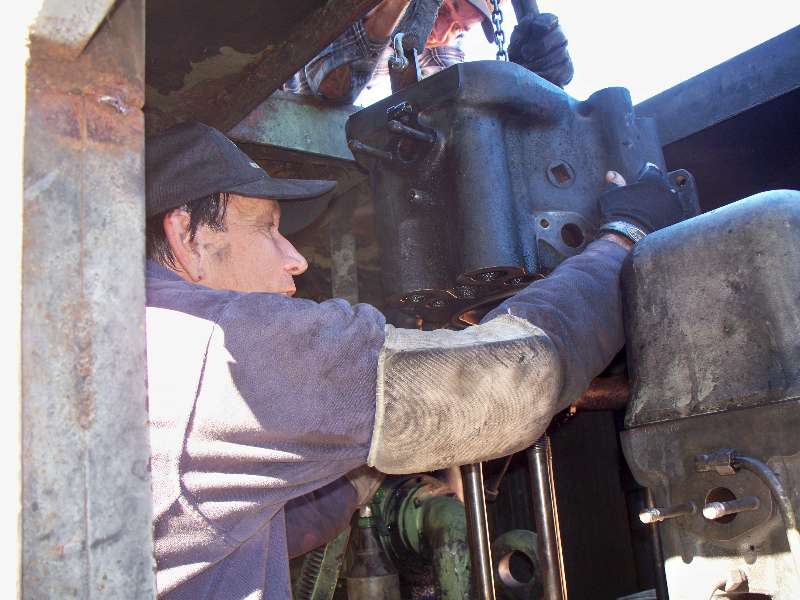
On the following Tuesday, we installed all of the piston/rod assemblies and cylinder heads. Gerry and Jeff assume the positions required to install the connecting rod caps. And finally, with Rich on the crane and Jeff guiding, the heads were lowered back into place.
 |
 |
 |
 |
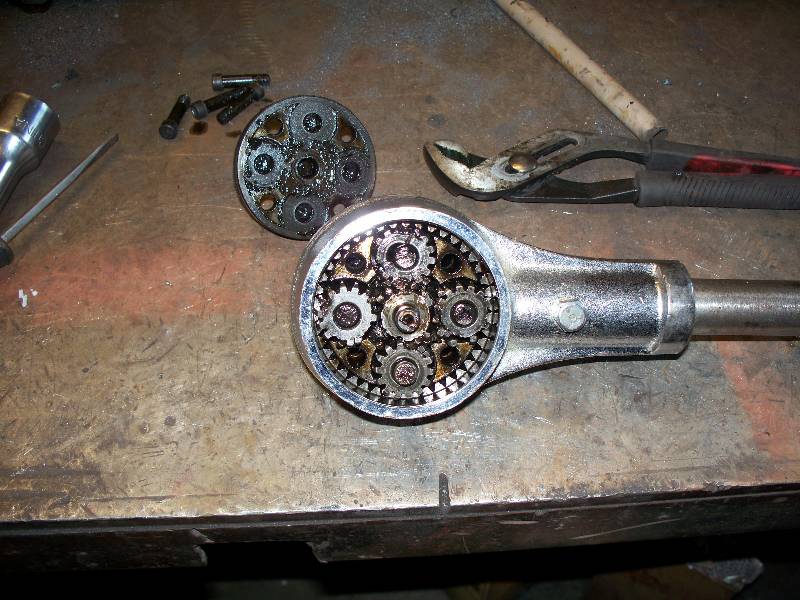
The last couple of jobs of any consequence were the torquing of the connecting rods and heads. We rented a torque multiplier for the heads as the nuts are tightened to 700 foot pounds and the last time we did this with only a torque wrench, Jon and Rich wore themselves out. The multiplier we rented turned out to have been destroyed by a previous rentor who evidently used an impact wrench on it. After taking the cover off to see why it would not work, we found stripped gears and bent shafts. It is a shame to ruin a good tool. Luckily, we found a replacement this morning so Gerry and Rich could do the torquing deed.
 |
 |
-- Update December 24, 2009 --
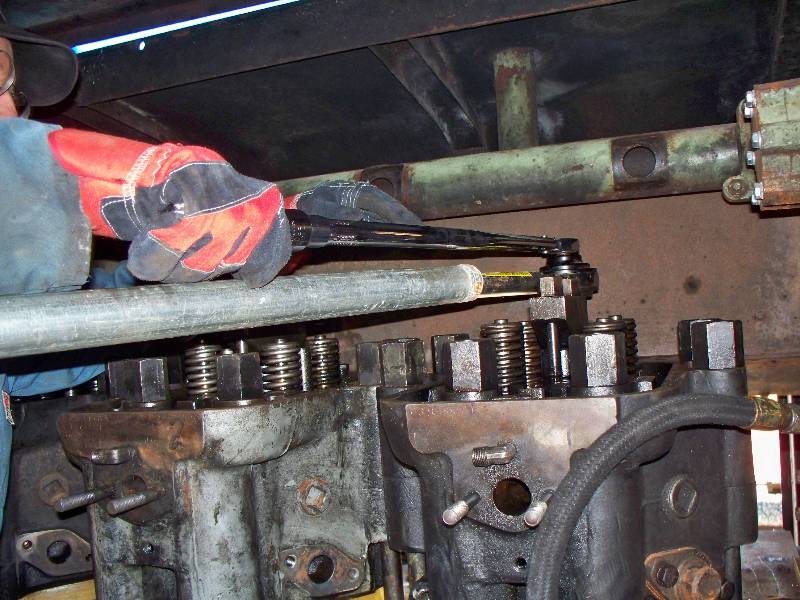
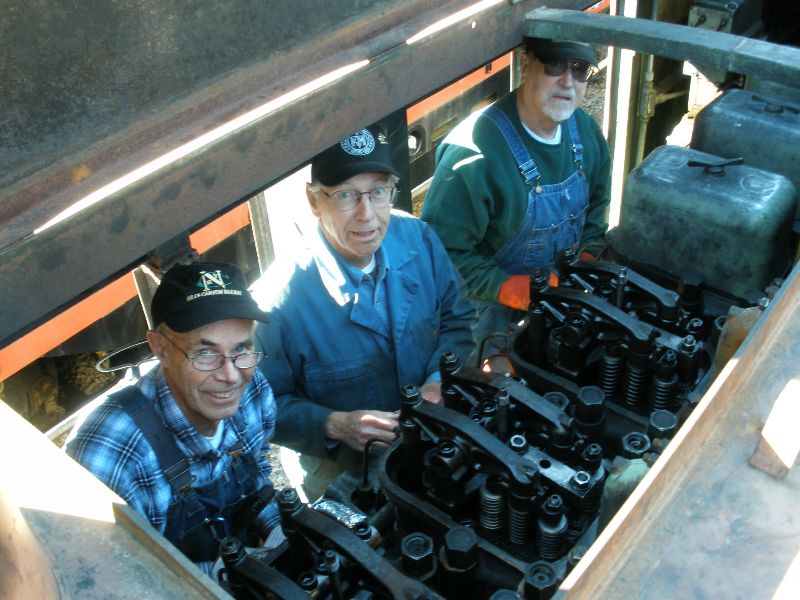
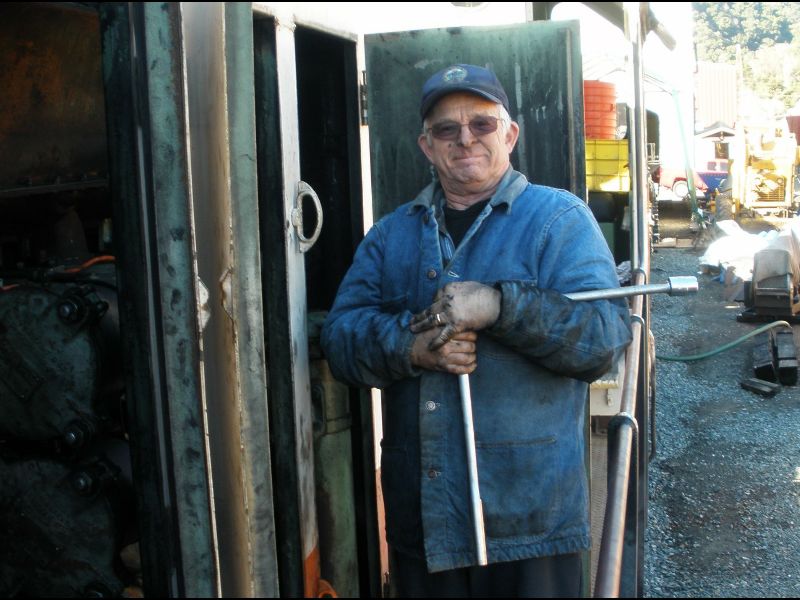
Jeff, Gerry and Rich took care of torquing the connecting rod bolts which finished up the bottom part of the engine repair. Over the next few word days, we installed the jumpers that connect the head to the cooling system. The last chore was installing the push rods and valve actuating parts. Alan Seigwarth captured this photo of Gerry, Rich and Jon working on the valve mechanisms and the photo of me just to prove that I actually do something now and then.
 |
 |
-- Addendum February 2, 2010 --
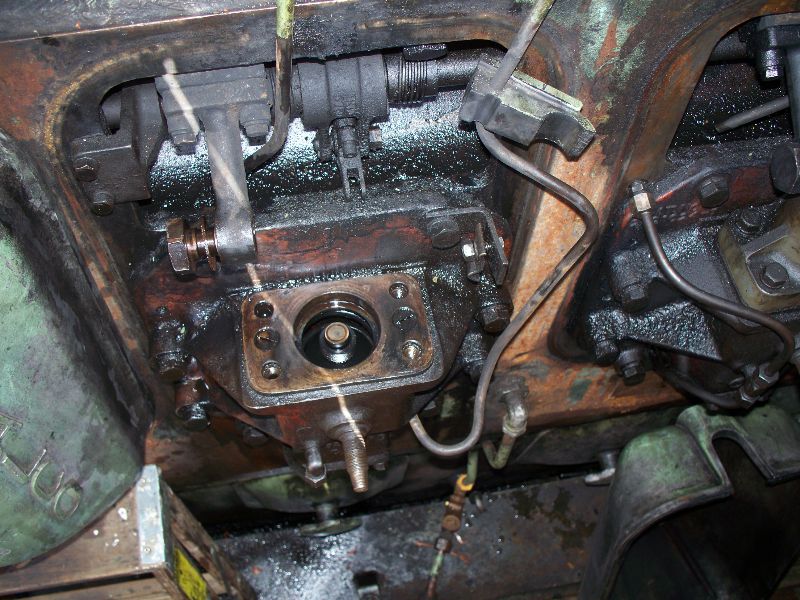
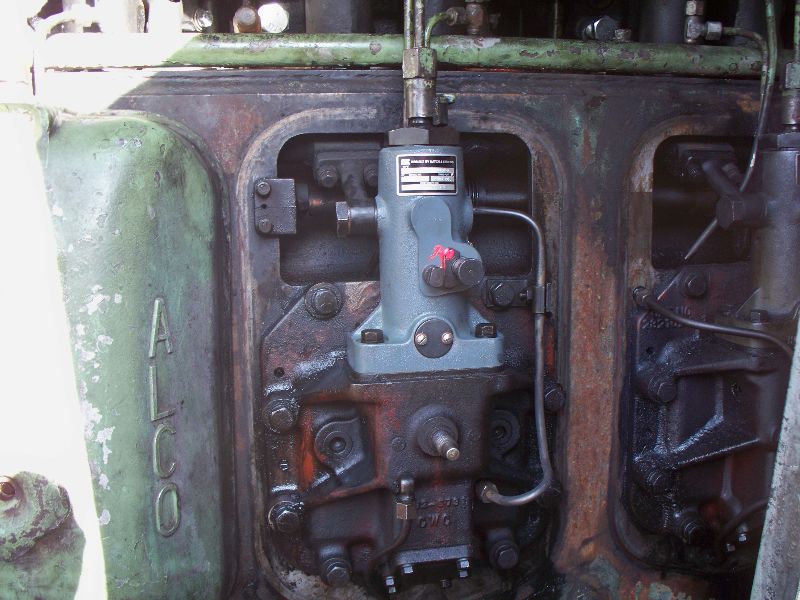
During the first week of January, we completed the work described above and started the engine. We found a couple of exhaust leaks and upon measuring the termperatures of the exhaust elbows, we discovered that cylinder number 4 was not firing. After some experimenting with a spare injector and such, we ordered a rebult injection pump from Hatch and Kirk. The new pump was duly installed and number 4 joined the other 5. The engine has a nice, healthy sound now, probably due to the increased compression from the new rings and liners.
 |  |  |  |
We took her out for a short test run this past week and she seemed to run just fine. There were no problems with making power and the engine sounds great. There will be more test runs in order to seat the new piston rings and allow the new rod bearings to break in and then we will turn our attention to cleaning the turbo aftercooler. That work will appear on the Engine Work menu.